![]()
Beautiful Plants For Your Interior
![]()
Beautiful Plants For Your Interior

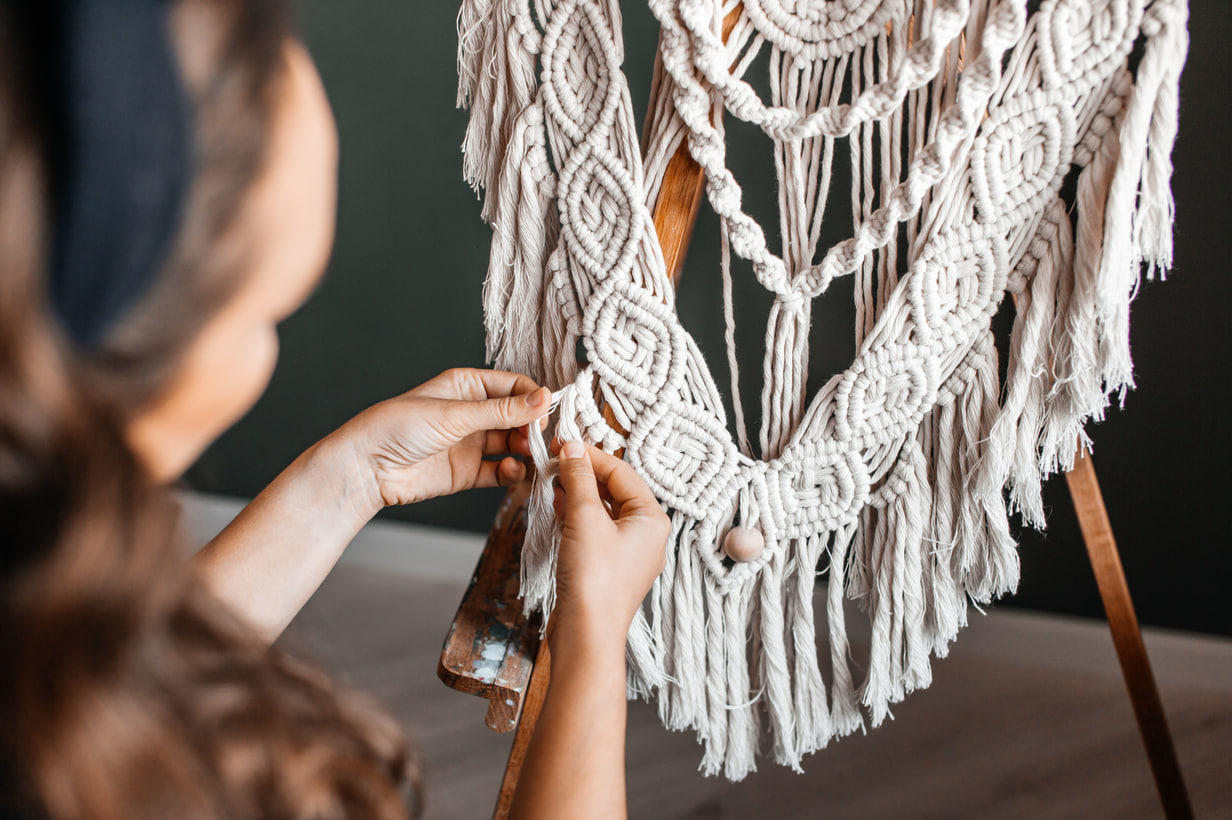
Macramé is an ancient art that combines creativity, relaxation, and craftsmanship to create beautiful handmade pieces. One of the most popular and functional macramé projects for beginners is the plant hanger. It not only adds a personal touch to your home décor but also brings a touch of nature indoors by creating a stylish way to hang your plants.
In this blog, we’ll walk you through the process of making your very first macramé plant hanger. Whether you’re a complete beginner or someone who’s just started exploring the craft of macramé, you’ll find this guide simple, approachable, and full of step-by-step instructions. Grab your materials, and let’s get started!
Plant hangers are one of the most iconic items in macramé crafting. They bring a boho, relaxed vibe to any room while helping you organize your plant collection. Hanging plants not only saves counter space but also adds a unique aesthetic to your home, making them the perfect way to showcase your favorite greenery.
Some of the benefits of macramé plant hangers include:
Making a macramé plant hanger also helps you practice the basic knots and techniques, which are foundational skills in macramé. It’s a great first project to familiarize yourself with the art of knotting and the materials involved.
Before you begin, gather the necessary materials for your plant hanger. Here’s a list of what you’ll need to make a basic macramé plant hanger:
Now that you have all your materials ready, let’s dive into the process of making your first macramé plant hanger. This design will use some of the most basic knots in macramé, such as the Lark’s Head Knot, Square Knot, and Half Hitch Knot.
The first step in making a macramé plant hanger is to cut your cords. For a standard-sized plant hanger, you’ll need 8 cords, each measuring about 3-4 feet long. You can adjust this length depending on how long or short you want your hanger to be.
Here’s how to measure and cut:
Once your cords are cut, you’re ready to begin.
To attach the cords to the dowel or ring, use the Lark’s Head Knot. This is one of the most common knots in macramé and is used to anchor cords to a base.
Repeat this process with all 8 cords, ensuring they are evenly spaced.
Once your cords are attached, it’s time to create the main body of the plant hanger. The Square Knot is a key knot in macramé and is perfect for creating a sturdy, decorative design. You’ll create four square knots in this step, grouping the cords in sets of two.
You should now have four square knots. The knots should be fairly tight and uniform to ensure a strong foundation for your plant hanger.
After completing the first set of square knots, you’ll repeat the process for the second section of the plant hanger. Here, we’ll work with pairs of cords, creating a cascading effect as you move down the hanger.
Continue creating square knots in this manner until you have created the desired length for the body of the plant hanger. Typically, 3-4 rows of square knots should be sufficient for most plant pots.
Once you have completed the square knots, it’s time to finish the bottom of the plant hanger. This is done using Half Hitch Knots to form a decorative fringe-like effect.
The Half Hitch Knot should gradually get smaller as you move down. You can continue this process until you reach the desired length for the hanger. This will create a tassel-like finish at the bottom of your plant hanger.
Now that you have completed the body of your macramé plant hanger, it’s time to finish it off. Trim any excess cord at the bottom to create an even look.
To secure the plant hanger, tie a knot at the top where all the cords meet. You can also create a loop at the top if you want to hang the plant hanger from a hook.
Once the plant hanger is complete, it’s time to hang it and add your plant! Choose a plant that fits comfortably in your pot, and make sure the hanger is securely attached to the ceiling or wall hook.
Hang the plant hanger, adjust the cords to make sure it’s even, and voilà — your beautiful, handmade macramé plant hanger is ready to showcase your favorite greenery!